You buy a punnet of raspberries that smell like summer and tell yourself you’ll definitely use them before they collapse in the fridge drawer. Two days later, you sigh, shove the whole thing into the freezer “to save them” and feel very smug about being waste-conscious.
Fast forward to a Sunday when you fancy berries on pancakes. You prise open the frozen punnet and tip it out. Instead of neat little jewels, you get a frosted brick that needs hacking apart with a knife. Once thawed, the berries bleed, slump and taste mostly of freezer. So much for smug.
Most people blame the berries. “Frozen fruit is just mushy,” you tell yourself, and go back to buying tiny overpriced punnets in January. But pastry chefs freeze berries all year round and still plate up perfect tarts, sharp coulis and bright sorbets.
The difference is not the berries. It is what happens in the first hour they’re in your freezer.
What you are doing is technically freezing berries. What they are doing is freezing them well.
The quiet freezer mistake hiding in your berry drawer
The biggest mistake is also the laziest one: putting berries into the freezer in a clump - in the original punnet, in a tightly packed tub, or as a big block in a bag.
On paper, it looks harmless. They are cold, they are solid, job done. In reality, you have created the perfect conditions for large ice crystals, crushed fruit and bland flavour. Everything pastry chefs try to avoid, you have just carefully engineered.
“These beautiful little structures are mostly water in very thin, delicate cells,” explains one London pastry chef I spoke to. “If they freeze slowly and squash each other, you smash those cells. When they thaw, all the juice is outside the berry instead of inside it.”
The second hidden error is water. Rinsing berries and freezing them still damp feels virtuous. It is also a direct route to frost-coated fruit that tastes like the inside of your freezer rather than the field it came from.
Add one more detail - a half-open bag or cracked punnet that lets cold, dry air in - and you have the full set: clumps, ice and freezer burn. You did not just save your berries; you downgraded them.
What really happens to berries when you freeze them in a clump
Understanding the “why” makes it easier to want to change the “how”.
When you shove berries into the freezer as a mass, three things tend to happen:
- They freeze slowly in the centre. The outer berries chill first, the middle ones take much longer. Slow freezing = bigger ice crystals.
- Those ice crystals puncture cell walls. Instead of a firm berry, you get a little sack of torn cells that leaks the moment it thaws.
- Weight and stickiness glue them together. As the outer layer softens slightly each time you open the door, they refreeze around each other like cement.
Texture is where you notice it most. Clump-frozen berries thaw into something closer to jam than fruit. Sometimes that is fine for a blitzed smoothie. It is disastrous for anything that needs shape - pavlovas, cheesecakes, crumbles where you want whole berries, not purple soup.
Flavour suffers quietly in the background. Freezer burn is just dehydration plus oxidation: cold, dry air pulls moisture out; oxygen nibbles at the flavour molecules left behind. The result is that flat, dusty taste you politely call “freezer-y”.
None of this is inevitable. It is just the outcome of a method that prioritises speed over structure.
The tray method pastry chefs actually use
Professional kitchens freeze berries all the time, not as an afterthought, but as a way to control cost and quality. The method they use has a boring name - open freezing or tray freezing - but the results feel anything but.
Here is the version you can actually manage at home.
Step 1: Start with dry, cold berries
- Sort through the berries. Remove any that are mouldy, squashed or leaking.
- If they are visibly dirty, rinse briefly in cold water, then spread on a clean tea towel or kitchen paper.
- Let them dry completely. Any surface water becomes extra ice.
If your kitchen is warm, pop the dry berries into the fridge for 20–30 minutes first. Cooler berries freeze faster and more evenly.
Step 2: Line a flat tray properly
Take a baking tray that will fit flat in your freezer. Line it with:
- Baking parchment, or
- A silicone mat
Avoid clingfilm; berries tend to weld themselves to it. You want a surface that lets you lift and tip easily when they are frozen.
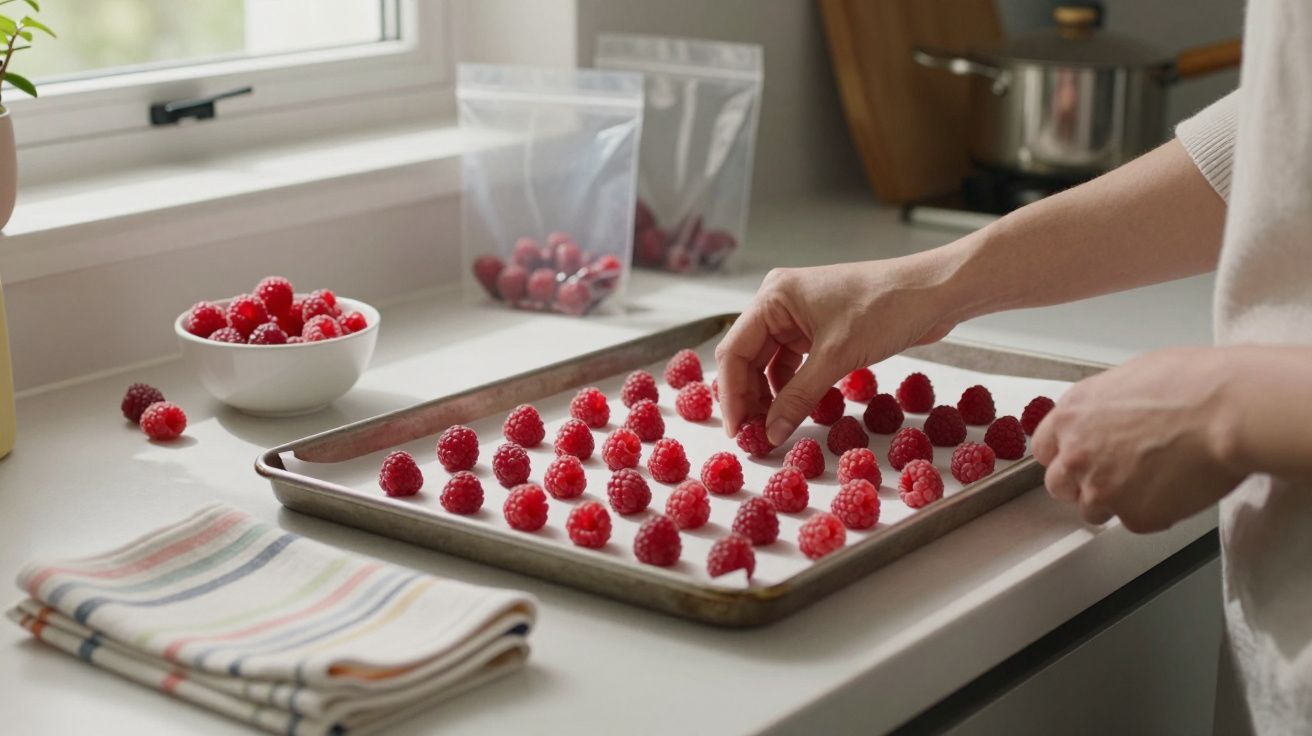
Step 3: Spread in a single, spaced-out layer
Pour the berries onto the lined tray and:
- Arrange them in a single layer
- Make sure they are not touching, or only just
This space is the magic. Air can circulate, cold hits each berry from all sides, and nothing gets crushed under the weight of a mountain of fruit.
Step 4: Freeze hard - and don’t keep opening the door
Slide the tray into the coldest part of the freezer. Try not to open the door for at least two hours.
Most berries take:
- 1–2 hours to become firm to the touch
- Up to 4 hours to freeze completely solid, depending on your freezer
Once they rattle like little marbles when you shake the tray, they are ready.
Step 5: Bag quickly, seal properly, label honestly
Work briskly so they do not start to thaw:
- Tip the frozen berries into freezer bags or airtight containers.
- Squeeze out as much air as you reasonably can before sealing.
- Label with the type of berry and the date.
Back into the freezer they go. Now, when you want berries, you pour out exactly what you need. No chiselling. No stained fingers. No listless fruit.
“Think of it as pre-portioning and pre-protecting your berries,” says a pastry chef in Edinburgh. “You pay once with five minutes of effort, and you collect interest in better flavour every time you bake.”
Why the tray method tastes better: a tiny bit of science
The tray method works because it does three quiet but powerful things.
Freezes faster. Each berry is exposed to cold air on all sides. Faster freezing keeps ice crystals smaller, which means less damage to cell walls and juicier thawed fruit.
Reduces squashing. Without a heavy pile on top, the berries keep their shape. Their own structure does the work instead of the tray reshaping them.
Cuts down on freezer burn. Once individually frozen, they sit tightly packed in a sealed bag or container. Less air + less surface moisture = fewer dry, flavourless patches.
You still will not get the exact snap of a fresh blueberry or raspberry after thawing. Frozen fruit is always softer. But you will move from “sad purple puddle” to “soft, intact berry that still tastes like itself”.
For most home desserts, that is more than enough.
Small tweaks that boost flavour even further
Once you have the basic tray method down, a few extra habits can take your frozen berries from “good enough” to “I cannot believe these came from the freezer”.
1. Freeze them at their peak, not as they die
Freezers are not time machines. They preserve what you put in, they do not upgrade it. Berries that are already dull, watery or teetering on the edge of mould will not improve in the cold.
If you can, freeze them just as they hit peak ripeness - fragrant, sweet, not yet collapsing. That is when flavour is fullest and acids and sugars are in balance.
2. Use smaller containers for frequent opening
If you dip into berries often, split them:
- Use several small bags or tubs rather than one giant one.
- Each time you open a container, you invite in warm air and moisture.
Smaller portions minimise repeated thaw–refreeze cycles that slowly wreck texture and taste.
3. Add a spoonful of sugar when it makes sense
For berries you know you will use in:
- Pies and crumbles
- Cooked sauces
- Compotes
…you can toss them very lightly with sugar (about 1 tablespoon per 300–400 g) before tray freezing. Sugar helps:
- Draw out and then protect some of the juice
- Slightly buffer ice crystal damage
- Lock in colour
Do not do this for anything you want to eat straight from frozen, such as smoothie berries. Everything will taste like dessert before you even start.
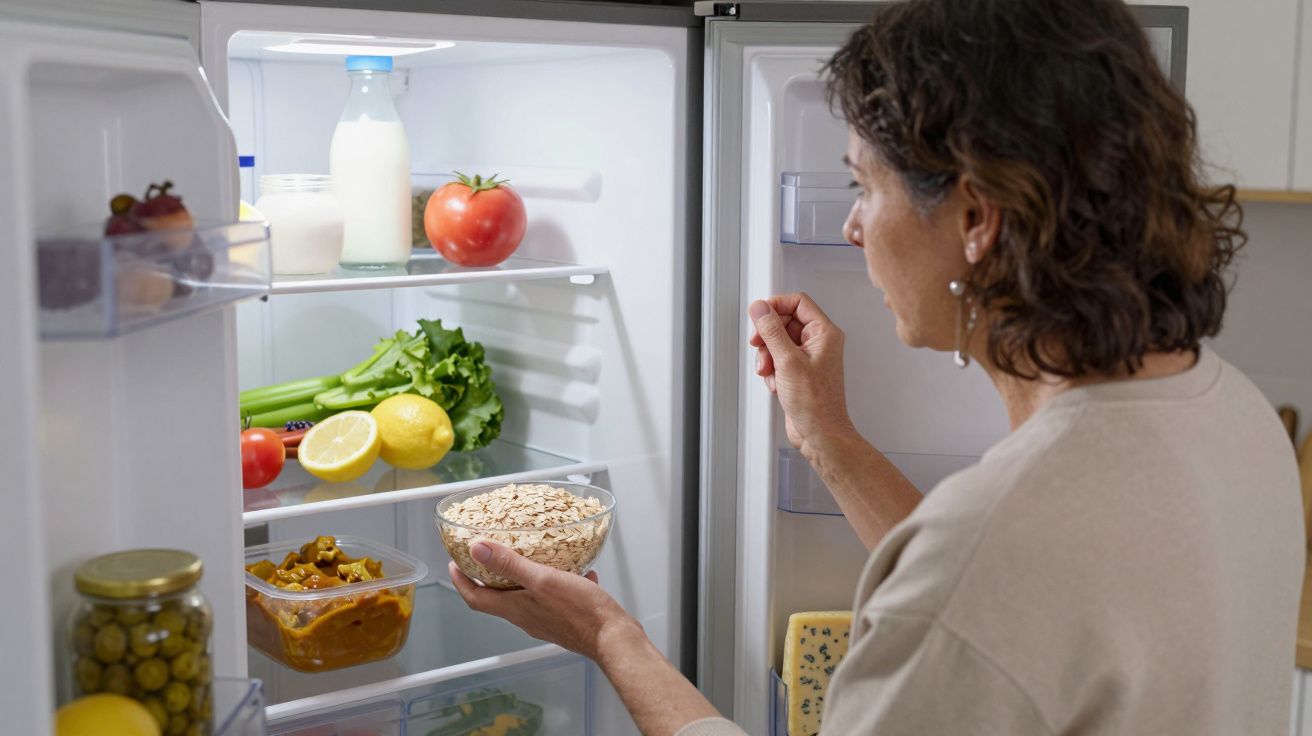
4. Keep your freezer genuinely cold and reasonably tidy
A freezer that hovers around –12°C because it is overpacked or keeps being opened will never freeze as cleanly as one that sits closer to –18°C.
You do not need a commercial blast chiller, but:
- Defrosting occasionally
- Not blocking vents with bags
- Keeping berries away from the door
…all nudge your freezing conditions closer to what pastry chefs enjoy in their kitchens.
When “lazy freezing” is actually fine
There are days when you can ignore all of this and still be perfectly happy.
If you only ever use berries:
- Straight from frozen in smoothies
- Blitzed into coulis
- Cooked down hard into jam
…you can get away with more clumping and less ceremony. The blender or the saucepan will disguise sins you would taste in a tart.
But even then, individually frozen berries pour more easily from the bag, thaw more predictably in recipes, and let you steal a handful without wrestling a frosty brick.
Effort-wise, the difference is five minutes and a baking tray. Result-wise, it is the jump from “generic frozen fruit” to “this still tastes like summer”.
Quick comparison: clump freezing vs tray freezing
| Method | Texture after thawing | Best suited to |
|---|---|---|
| Punnet / clump freezing | Mushy, berries burst, lots of juice loss, more freezer burn | Smoothies, heavy cooking where structure does not matter |
| Tray (open) freezing | Softer than fresh but mostly intact, less weeping, better colour | Tarts, crumbles, compotes, pancakes, yoghurt toppings |
How pastry chefs actually use frozen berries
A quiet secret of restaurant pastry: a lot of the fruit you eat was once frozen, on purpose.
Chefs lean on frozen berries for:
- Consistent flavour in sorbets and gelati, where fresh fruit quality swings wildly.
- Quick sauces made by simmering frozen berries with sugar and a splash of lemon.
- Fold-ins for bakes, such as muffins or financiers, where semi-frozen berries bleed less into the batter.
The tray method is what makes these uses viable. Because each berry behaves predictably, recipes stay stable. No one in the dining room ever notices that last summer’s raspberries are still putting in a shift in February.
At home, the same logic applies. Freeze once with some care, and you have a freezer full of fast desserts that actually taste of fruit rather than “cold and vaguely red”.
FAQ:
- Do I really have to dry berries before freezing? Yes, as far as flavour and texture are concerned. Excess water on the surface turns into frost, which encourages clumping and freezer burn. Dry berries freeze faster and taste fresher later.
- Can I refreeze berries once they have thawed? If they have only partially thawed and have stayed cold, you can refreeze them, but texture will suffer more each time. For best quality, portion them so you only thaw what you will actually use.
- How long can tray-frozen berries stay in the freezer? For peak flavour, aim to use them within 3–6 months. They are safe for longer if kept at a steady, cold temperature, but you will gradually lose aroma and colour.
- Does this work for all berries? Yes for most soft berries - raspberries, blackberries, blueberries, redcurrants, blackcurrants, cherries (pitted) and sliced strawberries. Very overripe or damaged fruit will still freeze poorly, whatever the method.
- Can I freeze berries in glass jars instead of bags? You can, as long as you tray-freeze them first, then transfer to jars leaving a little headspace. Glass protects well from odours and freezer burn, but never pack fresh, unfrozen berries tightly into a jar and then freeze; they may clump and the glass can crack if overfilled.


Comments
No comments yet. Be the first to comment!
Leave a Comment